

Key Takeaways
A check engine light is a warning, not a diagnosis. The safest path is to read the stored information, test the likely causes, repair the root problem, and then verify the vehicle’s self-checks.
- A steady light usually allows cautious driving, while a flashing light calls for urgent action.
- An ECU code identifies a monitored circuit or system, not necessarily the failed part.
- Freeze-frame and live data help connect a code with the conditions that caused it.
- Power, ground, wiring, leaks, and connectors should be tested before replacing expensive components.
- Clearing the light is only the final step; a completed drive cycle confirms whether the repair worked.
Understand what the check engine light is telling you
The check engine light, also called the malfunction indicator light, appears when the vehicle’s onboard diagnostic system detects a condition outside an expected range. It may relate to emissions, fuel delivery, ignition, airflow, or communication between control modules. A warning light alone cannot tell you which component needs replacing. For a useful overview of the warning and its common triggers, see this check engine light guide before beginning a hands-on check.
Difference between steady and flashing warning lights
A steady amber light generally means the ECU has found a fault that needs attention but is not necessarily causing immediate damage. You can often drive a short distance if the engine runs normally, although reduced fuel economy or higher emissions may continue. A flashing light is more urgent because it commonly accompanies an active misfire that can overheat the catalytic converter. Reduce load, avoid hard acceleration, and stop safely if the engine shakes, loses power, smells strongly of fuel, or shows another serious warning.
How the ECU monitors engine and emissions systems
The ECU compares signals from sensors with expected operating ranges while the engine is running. Depending on the vehicle, it may monitor crankshaft speed, airflow, throttle position, oxygen content in the exhaust, coolant temperature, fuel pressure, and evaporative emissions. When a test fails under defined conditions, the ECU can record a diagnostic trouble code and illuminate the warning. The monitoring process is continuous but not instantaneous; some faults require more than one trip before the light is turned on.
Why one fault can trigger multiple symptoms
A single problem can disturb several parts of the control strategy. For example, an intake air leak may create a lean mixture, increase idle speed, produce hesitation, and make oxygen-sensor readings look abnormal. A weak battery or poor ground can also create apparently unrelated communication and sensor codes. Treat the symptoms as connected clues rather than assuming every code represents a separate failed part. This ECU diagnostics explanation gives useful background on how stored codes help narrow the search.
When it is safe to continue driving
Driving cautiously may be reasonable with a steady light and no change in engine behavior, but it is not a substitute for diagnosis. Check fluid levels, note whether the light appeared after refueling, and arrange a scan soon. Do not continue normally with a flashing light, severe misfire, overheating, low oil pressure, smoke, or major power loss. A tow is often cheaper than turning a manageable fault into engine or exhaust damage.
Prepare for an accurate ECU fault diagnosis
Good diagnosis starts before the scan tool is connected. Record what happened, preserve the vehicle’s stored data, and use equipment that matches the vehicle’s connector and systems. The goal is to reproduce the fault and separate a failed component from a wiring, voltage, or software-related problem. A few minutes of preparation can prevent an expensive part-swapping exercise.

The scan should be treated as the beginning of the investigation, not the conclusion. Keep the vehicle information and the original code details together so later tests can be compared with the conditions that set the warning.
Tools needed for reading diagnostic trouble codes
At minimum, you need a compatible OBD-II scanner, the vehicle service information, a multimeter, and basic hand tools. A scan tool that displays live data and freeze-frame information is much more useful than a device that only erases codes. Test leads, back-probes, a battery charger, and a smoke machine may be needed for deeper work. Use a wiring diagram when checking circuits rather than guessing at connector pins.
Vehicle information to collect before scanning
Write down the year, make, model, engine, mileage, recent repairs, recent refueling, and the exact symptoms. Note whether the problem occurs cold, hot, under load, at idle, during rain, or after a long drive. Record whether the light is steady or flashing and whether any other warning appears. When researching online, separate useful automotive references from unrelated material such as NeMo Guardrails, Venturis Clinic, Dubai Konnect, Kaboom Beverage Menu, or Oli6Goat; none of those subjects can diagnose a vehicle.
Safety precautions during electrical testing
Work in a ventilated area, keep loose clothing away from belts and fans, and secure the vehicle before reaching around the engine. Do not probe an airbag circuit or high-voltage hybrid wiring unless you are trained and have the correct procedures. Avoid shorting adjacent terminals with a test lead, and disconnect the battery only when the service information permits it. If the engine must run during a test, keep the exhaust away from enclosed spaces and remain alert to moving parts.
Why code definitions are only a starting point
A code usually identifies the system, circuit, or condition that the ECU found, not the part that must be replaced. A code for an oxygen-sensor circuit can result from the sensor, its heater, a blown fuse, damaged wiring, an exhaust leak, or a mixture problem upstream. Read the definition, then ask what electrical and mechanical conditions could produce it. The practical ECU fault code guide is useful for understanding code structure, but vehicle-specific test values still take priority.
Read and interpret ECU fault codes
Once the scanner communicates with the vehicle, save every code before clearing anything. Look at current, pending, and permanent entries, along with module identity and freeze-frame data. A code is most valuable when combined with symptoms, inspection findings, and measurements. This approach keeps the check engine light on ECU fault diagnosis focused on cause rather than on the most obvious component named by the scanner.
Common code categories and what they indicate
Powertrain codes begin with P and commonly concern the engine, transmission, fuel, ignition, or emissions systems. Body, chassis, and network codes may begin with B, C, and U, although the exact systems available vary by vehicle. The first letter and number provide a useful orientation, while the remaining characters describe a more specific area or condition. Always confirm the full definition in a reliable vehicle-specific database.
Generic and manufacturer-specific trouble codes
Generic codes are shared across many vehicles, but their diagnostic procedures can still differ by engine and model year. Manufacturer-specific codes may describe a narrower test, a proprietary system, or a condition that a universal scanner cannot fully explain. Do not assume that a familiar code has the same likely cause on every vehicle. The wiring diagram, service bulletin, and manufacturer test sequence may reveal an important variation.
Pending, stored, and permanent codes
A pending code often means a monitor detected a fault once but has not yet met the conditions required to confirm it. A stored or confirmed code has passed the vehicle’s criteria and may have turned on the light. A permanent code can remain in memory until the ECU verifies that the fault has been repaired through its own monitoring process. Erasing codes may remove useful context without repairing anything.
Using freeze-frame data to identify failure conditions
Freeze-frame data captures selected operating details at the moment a confirmed fault was recorded. Engine speed, coolant temperature, vehicle speed, calculated load, fuel-trim values, and sensor readings can show whether the event occurred during a cold start, cruise, acceleration, or idle. Compare that snapshot with the driver’s description. If the code appeared at high load but testing is performed only at idle, the original failure may never be reproduced.
When multiple codes point to one root cause
Several codes appearing together often suggest a shared cause. Low system voltage, a failed ground, a damaged harness, or an intake leak can disturb multiple sensors at once. Start with codes that appeared first, then inspect common power supplies and grounds before chasing individual sensors. A clear sequence matters more than the number of codes displayed.
Trace the most common check engine light causes
The most productive inspection follows the path from simple external causes to measured electrical and mechanical tests. Begin with anything recently disturbed, then consider the code, the symptoms, and the operating conditions together. Avoid replacing an expensive converter or sensor simply because its name appears in the fault description. A careful inspection often finds a loose connection, leak, or voltage problem first.
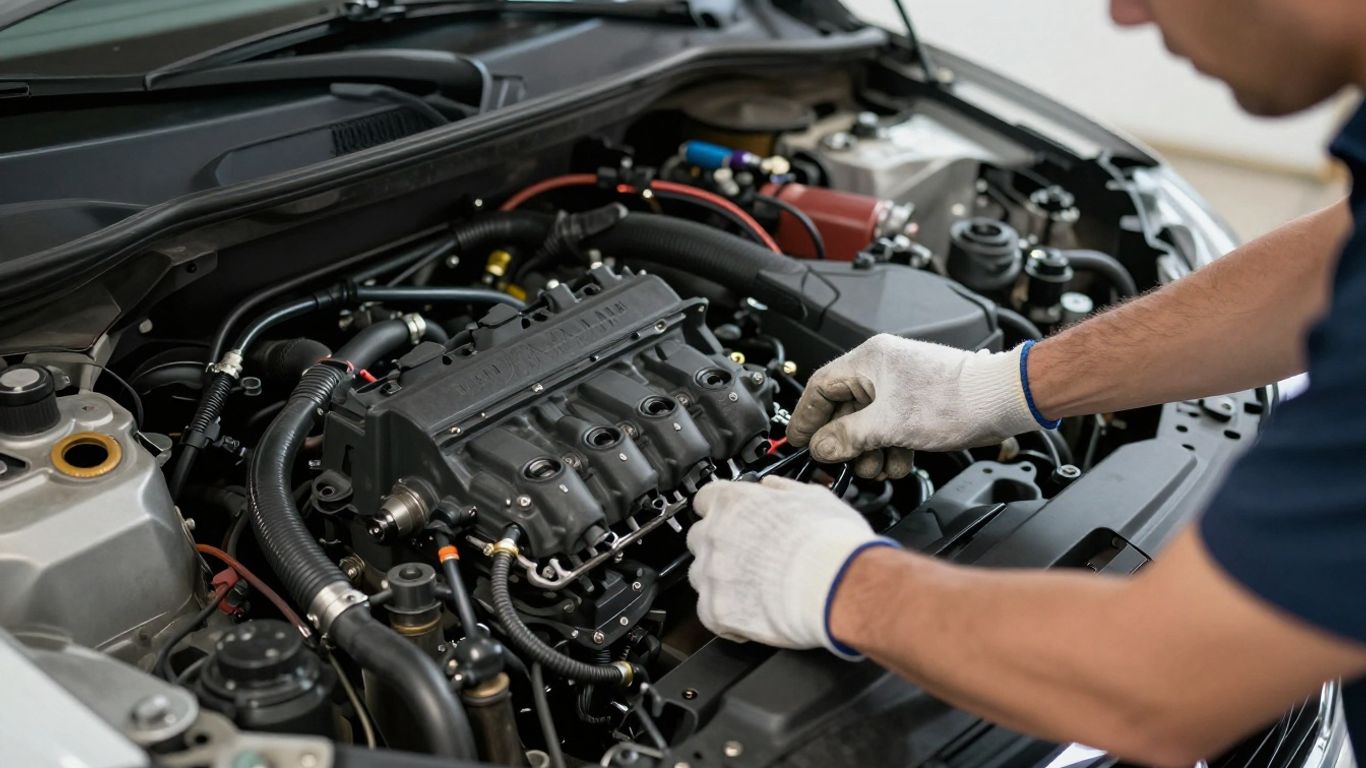
The image of a component under the hood can be helpful for orientation, but diagnosis still depends on tests. Use the following causes as a starting map, not as a list of guaranteed fixes.
Loose fuel caps and evaporative emissions leaks
A loose, damaged, or incorrectly fitted fuel cap can allow fuel vapor to escape and may set an evaporative-emissions code after several trips. Inspect the cap seal, filler neck, hoses, and visible vapor lines for cracks or disconnections. Some leaks are too small to find by sight, especially around the tank or charcoal canister. If tightening the cap does not resolve the issue, the system needs a pressure or smoke test rather than repeated code clearing.
Oxygen sensors, air-fuel sensors, and catalytic converters
Exhaust sensors report oxygen content or mixture information, while the ECU uses those signals to adjust fuel and assess catalyst operation. A sensor code does not automatically mean the sensor itself has failed. Exhaust leaks, intake leaks, wiring faults, heater power, and an engine that is running too rich or lean can all affect the reading. A catalytic-converter code should be supported by temperature, oxygen-storage, or other appropriate tests before replacement.
Ignition faults from spark plugs, coils, and misfires
Misfires can be caused by worn spark plugs, a weak coil, injector problems, low compression, incorrect timing, or an air leak. If the code identifies a cylinder, compare its plug, coil, and injector with a known-good cylinder where the service procedure allows it. Look for evidence of fuel fouling, oil contamination, cracked insulation, or a loose connector. A flashing warning deserves immediate attention because unburned fuel can damage the exhaust system.
Airflow, throttle, and fuel-delivery problems
Restricted filters, contaminated airflow sensors, throttle-body deposits, vacuum leaks, low fuel pressure, and injector faults can all alter the mixture. Check commanded and actual throttle position, fuel trims, airflow, and pressure against the vehicle’s specifications. Do not clean a sensor or throttle body without confirming that the procedure and cleaning product are suitable. Small changes in live data can be more revealing than a single stored code.
Battery voltage and wiring-related ECU faults
Low battery voltage during cranking can create misleading codes, while corrosion or a loose ground can interrupt a sensor reference or module communication. Check battery condition, charging voltage, terminal tightness, engine grounds, and relevant fuses. Inspect harnesses near heat, sharp edges, moving parts, and recent repair areas. A stable electrical supply should be established before interpreting a group of unrelated faults.
| Observation | Possible direction | Useful next check |
|---|---|---|
| Steady light, normal running | Emissions or stored monitor fault | Scan codes and freeze-frame data |
| Flashing light, rough running | Active misfire | Stop hard driving and test ignition and fuel |
| Light after refueling | EVAP leak or cap problem | Inspect cap and perform a leak test |
| Several unrelated codes | Voltage, ground, or harness issue | Check battery supply and shared grounds |
This table helps prioritize the first inspection, but it does not replace measurements. The same symptom can have different causes on different engines, so move from the likely direction to a confirmed test before ordering parts.
Test components before replacing them
Parts replacement is tempting when a code names a sensor, but diagnosis is more reliable when each part is tested in its circuit. A component can be perfectly healthy while its power supply, ground, signal wire, connector, or mechanical environment is faulty. Test from the simplest accessible point and document each result. That record makes intermittent problems much easier to revisit.
Checking power, ground, and wiring continuity
Use the wiring diagram to identify the correct power, ground, signal, and reference circuits. Check voltage with the circuit connected where possible, because an unloaded circuit can appear healthy even when it cannot carry current. Voltage-drop testing can reveal resistance in a ground or supply that a basic continuity check misses. Inspect terminals for spread pins, moisture, oxidation, and tension problems before condemning the harness.
Comparing sensor readings with expected values
Compare the sensor’s signal with the engine’s actual condition and the manufacturer’s expected range. A coolant sensor reading that is implausible before startup, or a throttle signal that does not change smoothly, deserves further investigation. Resistance checks may be useful for some passive sensors, but many modern sensors must be evaluated with voltage, frequency, or live-data tests. Never substitute a generic number for the vehicle’s specified test procedure.
Using live data to confirm intermittent faults
Live data can show a fault that disappears before the vehicle reaches the workshop. Watch the relevant parameter while gently moving a harness, changing engine load, or reproducing the temperature and speed conditions from the freeze frame. Record both the normal and abnormal values instead of relying on a quick glance. A brief dropout, spike, or implausible correlation may identify a connector or wiring problem.
Performing smoke tests for vacuum and EVAP leaks
Smoke testing introduces a visible, controlled vapor into a sealed intake or evaporative-emissions system so escaping smoke can reveal a leak. Seal the system according to the service procedure and use the correct access points; forcing smoke into the wrong circuit can damage components or produce misleading results. Check hoses, purge valves, filler-neck areas, canisters, and connections methodically. Repair the leak, then repeat the test if the original fault was small or difficult to see.
When professional diagnostic equipment is necessary
Basic code reading may be enough for a loose cap or a clearly damaged wire, but advanced work often needs bidirectional controls, manufacturer-level data, waveform analysis, pressure testing, or programming procedures. Hybrid systems, airbag circuits, network faults, and complex intermittent failures should be handled by someone with the correct training and equipment. Professional diagnosis is especially worthwhile when several modules report errors or when an expensive component is being considered.
A video can illustrate scanner menus and test connections, but follow the vehicle’s service information rather than copying a procedure from a different model. The right tool and the right test sequence matter more than a confident-looking code explanation.
Clear the fault and verify the repair
Clearing a code should happen after the cause has been addressed and the repair has been checked. The ECU needs time and suitable driving conditions to rerun its monitors, so an immediately dark dashboard does not prove success. Keep the original scan report, repair notes, and post-repair results together. This repair verification guide explains why resetting the warning is part of a larger verification process.
Why a code should not be erased before diagnosis
Erasing the code can remove freeze-frame data, reset monitor status, and make an intermittent fault harder to reproduce. It may also hide the pattern of multiple codes that appeared together. Scan and save the information first, even if the suspected cause seems obvious. If the battery has already been disconnected, record that fact because it changes how much diagnostic evidence remains.
Resetting the check engine light after repairs
After the repair, use the scan tool’s clearing function if appropriate, or follow the vehicle’s specified reset procedure. Confirm that the code does not return immediately and inspect the repaired area for loose connectors, pinched wires, or disturbed hoses. Some vehicles will turn the light off only after a successful monitor completes. A reset creates a fresh baseline; it does not certify the repair by itself.
Completing the required drive cycle
A drive cycle usually includes defined periods of cold starting, idling, steady cruising, acceleration, deceleration, and sometimes extended speed or fuel-level conditions. The exact sequence varies widely, and some monitors will not run if the fuel level, temperature, or battery voltage is outside its permitted range. Follow the manufacturer’s instructions and drive safely rather than trying to force every condition in traffic. Keep an eye out for the warning returning during the process.
Confirming that monitors and readiness tests pass
Use the scan tool to check readiness status after the drive cycle. A vehicle may have no illuminated light while several monitors are still incomplete, particularly after a battery disconnection or code clear. Confirm that the relevant monitors run and that no pending codes reappear. Readiness is evidence that the ECU has performed its checks, not merely that the dashboard is currently dark.
Knowing when the light requires a second diagnosis
Return to diagnosis if the light comes back, a pending code appears, the engine still runs poorly, or readiness remains incomplete after reasonable driving. Compare the new freeze-frame data with the original record and verify the repair before testing a different system. A recurring fault may indicate that the first repair addressed a symptom rather than the root cause. Stop driving and seek prompt help if the light flashes or the vehicle develops severe drivability symptoms.
Conclusion
A check engine light becomes far less mysterious when it is treated as evidence rather than a verdict. Scan before clearing, interpret the code with its operating conditions, test power and wiring as carefully as the named component, and complete the required monitors after repair. That measured process reduces unnecessary parts replacement and gives you a clearer answer about whether the vehicle is truly fixed.
Frequently Asked Questions
Can I drive with the check engine light on?
A steady light with normal engine operation may allow cautious, short-distance driving, but arrange a diagnosis soon. A flashing light, severe shaking, overheating, smoke, or major power loss calls for stopping safely and seeking assistance.
Does a check engine code identify the failed part?
Usually not. It identifies a monitored condition, circuit, or system, and the cause may be a component, wiring, power supply, air leak, mechanical fault, or another related issue.
What is the difference between a pending and stored code?
A pending code records a monitor failure that may not yet meet the confirmation threshold. A stored code has generally been confirmed and may have illuminated the warning, although exact behavior varies by vehicle.
Should I disconnect the battery to turn off the light?
Disconnecting the battery can erase useful diagnostic information and reset readiness monitors. Scan and record the codes first, then use the appropriate clearing procedure after the repair.
How long does it take for monitors to become ready?
It depends on the vehicle, the monitor, fuel level, temperature, and driving conditions. Some complete in one trip, while others require several specific cycles or extended conditions.
Can a loose fuel cap cause the warning light?
Yes. A loose, damaged, or poorly sealing cap can allow vapor to escape and trigger an evaporative-emissions fault. If tightening or replacing it does not resolve the warning, further leak testing is needed.
When should I use a professional diagnostic service?
Professional help is sensible for flashing warnings, network or hybrid faults, intermittent problems, multiple module codes, or repairs involving costly components. It is also useful when basic tests do not reproduce the fault.