

Key Takeaways
A symptom or trouble code can point you toward the problem, but neither proves that the ECU has failed. Diagnosis comes from checking the sensor, its wiring, and the ECU’s power and communication in context.
- A sensor reports a condition; the ECU uses those readings to help control engine operation.
- Similar warning lights and drivability problems can come from a sensor, wiring, power supply, or ECU fault.
- Read stored, pending, and history codes alongside freeze-frame data and live readings.
- Test the sensor circuit before replacing parts, and verify ECU power and grounds before condemning the module.
- Seek qualified help when testing requires vehicle-specific procedures or when the car is unsafe to drive.
Understand what the ECU and sensors do
Sensors and the engine control unit (ECU) work together, so a fault in either can affect the way an engine runs. The ECU receives electrical signals from sensors and uses them, along with its programmed logic, to control engine functions. That relationship is why a fault message does not automatically identify the part that needs replacing. Knowing the distinction makes it easier to understand what a diagnostic result can—and cannot—prove.
How sensors send data to the ECU
A sensor measures a condition, such as temperature, engine speed, or the position of a component, and sends an electrical signal to the ECU. Depending on the sensor, that signal may change in voltage, frequency, or another measurable way. The ECU interprets it against expected ranges and operating conditions. A damaged wire or poor connection can interrupt or distort the signal, even when the sensor itself is serviceable.
How the ECU uses sensor readings to control the engine
The ECU combines sensor inputs with stored instructions to manage engine operations, including fuel delivery and ignition timing. It continually adjusts its commands as conditions change, rather than responding to one sensor in isolation. If a reading seems implausible or disappears, the ECU may set a trouble code or use a fallback strategy. Those reactions can affect performance without proving that the ECU is faulty.
Why a sensor or wiring fault can look like an ECU problem
An open circuit, short, corroded connector, or weak ground can make the ECU receive the wrong signal—or no signal at all. From the driver’s seat, that may look much like a computer failure: poor running, a warning light, or difficulty starting. A diagnostic scan may also name the affected circuit even though the cause is a connector or wire. The useful question is not just which system reported a fault, but where the signal path stopped behaving as expected.
Compare symptoms of sensor and ECU faults
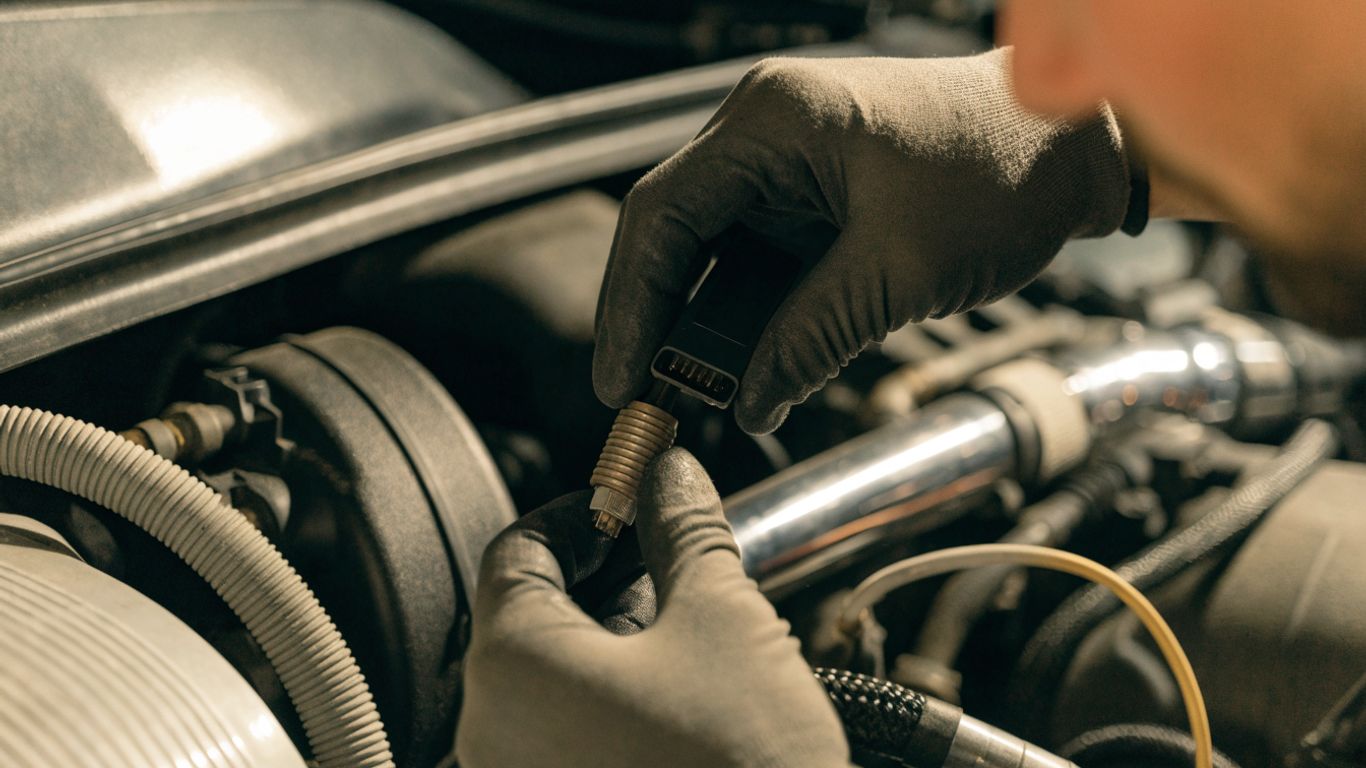
Symptoms are useful clues, but they overlap. A faulty sensor can lead to rough running, hesitation, stalling, or a hard start, while a broader electrical or ECU issue can produce some of the same problems. Consider when the symptom occurs and whether several unrelated functions are affected. A general overview of common ECU warning signs can help frame the possibilities, but it cannot replace testing on the vehicle.
Signs that point to a faulty sensor
A sensor fault is more plausible when the code and live data consistently point to one sensor or its circuit, and the problem fits that sensor’s role. For example, a reading that is implausible when the engine is cold may direct attention to a temperature-sensing circuit. That is a lead, not a verdict: wiring, a connector, or a shared power supply can create similar evidence. Check whether the reading changes sensibly as operating conditions change.
Symptoms that may suggest an ECU problem
An ECU fault becomes more worth investigating when several unrelated circuits show problems at once, communication with the module is unreliable, or basic ECU power and grounds check out but commanded behavior remains abnormal. Visible water intrusion, corrosion, or heat damage also warrants closer inspection. None of these signs alone confirms internal failure. Before treating the ECU as the cause, rule out issues in the circuits and supplies it depends on.
Why warning lights and drivability issues are not conclusive
A check-engine light tells you the vehicle’s system detected a condition worth recording; it does not name a failed component with certainty. Likewise, stalling or a no-start condition can arise from several systems, not just the ECU or one sensor. For perspective, a search may also return unrelated material such as Falco Firearms, erectile dysfunction, eigenKOR, de facto infotech, or Google reviews; those subjects have no bearing on an engine diagnosis. Keep the investigation tied to the car’s own codes, readings, and test results.
Read diagnostic trouble codes in context
A scan tool gives you a starting point, not a complete diagnosis. Codes record what the vehicle detected under particular conditions, and a single fault can trigger related codes or leave a history after the original problem has passed. Start by recording the results before clearing anything. This preserves clues that may help connect the complaint to a specific operating condition.
Scan for stored, pending, and history codes
Stored codes indicate faults that met the vehicle’s criteria for being recorded; pending codes may reflect a problem detected but not yet confirmed under the required conditions. History codes can remain after an intermittent fault is no longer present. The exact categories and availability depend on the vehicle and scan tool. Record all codes, including those from relevant modules, before clearing them or disconnecting power.
Use code descriptions to identify the affected circuit
Read the code number and description together, and note whether the wording points to a component, a circuit, or a signal range. A circuit code may result from the sensor, its wiring, a connector, or a shared supply. The description narrows the test area; it does not identify which physical part has failed. A page about common causes of ECU failure may offer general background, but the vehicle-specific circuit still needs to be tested.
Check freeze-frame data and live sensor readings
Freeze-frame data records selected operating information from around the time a code was set. It can show whether the issue occurred during a cold start, at idle, or under load, helping you reproduce or narrow down the condition. Live data adds another view: does the sensor value respond plausibly as the engine warms or its operating state changes? These clues are most useful when compared with service information for the exact vehicle.
Avoid replacing parts based on a code alone
A code can name a circuit without identifying the root cause, so replacing the named sensor immediately can waste time and money. Use the code to choose what to inspect and test next, then confirm the result with measurements. Keep the record simple and specific:
| Evidence | What it may indicate | What to check next |
|---|---|---|
| One sensor circuit code | A localized signal or circuit issue | Sensor, connector, wiring, and supply |
| Several unrelated sensor codes | A shared supply, ground, or communication issue | Common connections and ECU power |
| A code that returns after clearing | A fault may still be present | Conditions and circuit behavior when it returns |
| A history code without current symptoms | An intermittent or resolved condition | Freeze-frame details and whether it recurs |
This table helps organize the investigation; it is not a parts-replacement chart. Match each clue to the vehicle’s wiring diagram and specified test procedure before deciding what has failed.
Test the sensor and its circuit
Once a code or symptom points to an area, test the complete path between the sensor and ECU. A good sensor can appear faulty if its supply voltage, ground, connector, or signal wire is compromised. Work methodically, and use service information for the make and model rather than assuming every circuit is wired the same way. If access or testing is uncertain, a qualified technician can help avoid damage to the electronics.
Inspect connectors, wiring, grounds, and power supply
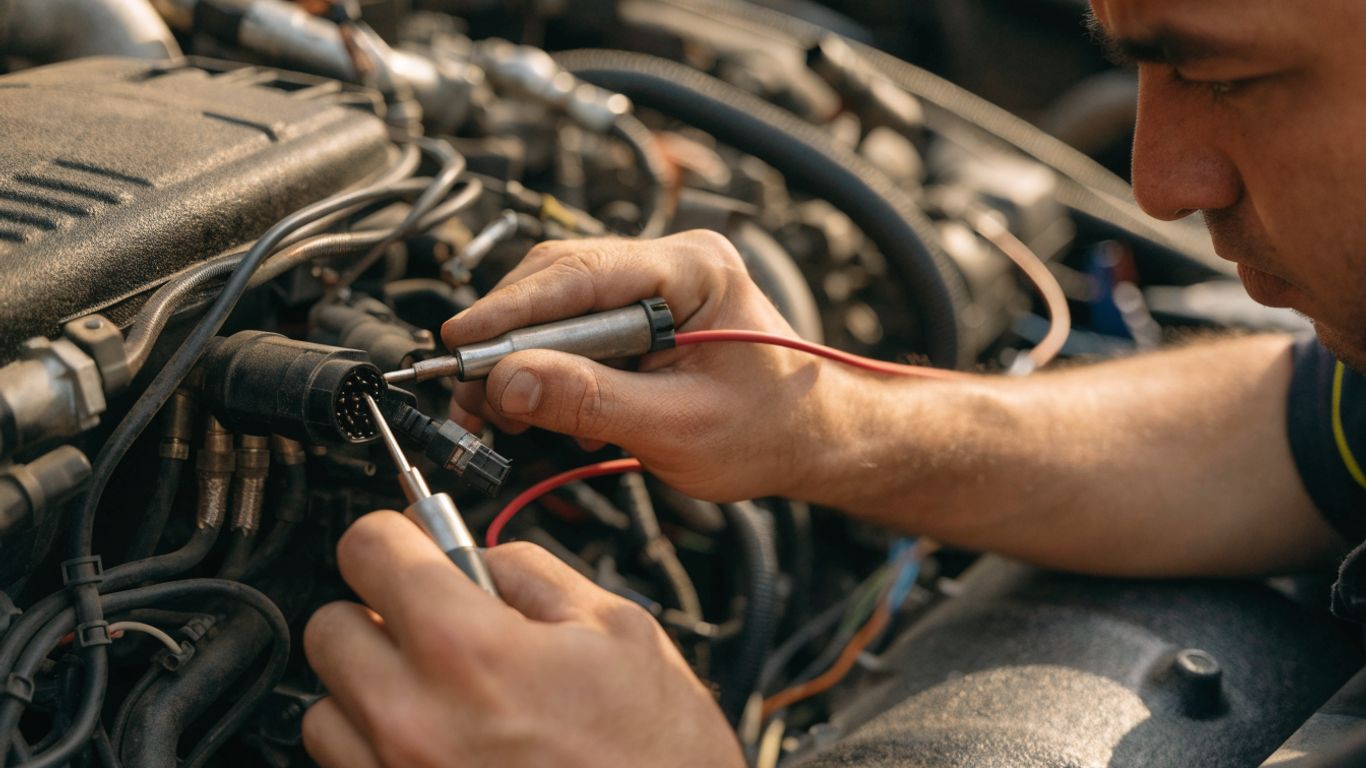
Begin with a visual inspection for loose plugs, bent or pushed-back pins, rubbed insulation, corrosion, or signs of moisture. Check the relevant power and ground connections using the vehicle’s service procedure; a connection can look intact but fail under load or vibration. Before moving to component tests, note the condition of the circuit and verify the basics:
- Confirm the connector is fully seated and its pins are not visibly damaged.
- Look for wiring that is pinched, chafed, stretched, or exposed to heat.
- Check specified power and ground points with suitable equipment.
- Compare any measurement with the vehicle’s service information.
These checks help separate a failed sensor from a problem in its supply or signal path. Avoid piercing insulation or probing terminals in a way that could spread or damage them.
Compare live readings with expected values
Observe the sensor reading with the engine off, at startup, and as conditions change, when the vehicle’s procedure allows. Look for a value that is stuck, erratic, implausible, or slow to respond. Compare it with manufacturer specifications and other related readings rather than relying on a generic range. A scan-tool value is an interpretation of the signal, so a suspicious value still calls for circuit checks.
Check sensor resistance or voltage when appropriate
Some sensors can be checked with resistance or voltage measurements, but the correct method depends on sensor design. A resistance test on a powered circuit, for instance, may give misleading results or damage equipment. Follow the service information for test conditions, connector pinout, and expected values. When a measurement is outside specification, confirm the wiring and test setup before concluding the sensor is bad.
Rule out intermittent faults and poor connections
Intermittent faults may appear only with heat, vibration, moisture, or movement. If the issue comes and goes, inspect the harness while monitoring the relevant reading, but do not pull or flex wiring aggressively. A fault that disappears during a stationary test may still be real; record when it occurs and what changes just before it. A controlled, repeatable check is more useful than replacing parts based on a brief symptom.
Check whether the ECU is causing the problem
Consider the ECU only after the sensor circuits and their supporting connections have been checked. Many apparent module faults turn out to be low voltage, a poor ground, damaged wiring, or a communication issue elsewhere. ECU diagnosis can require vehicle-specific equipment and procedures, so avoid condemning the module based on symptoms alone. The goal is to establish that the ECU is receiving reliable inputs and has the power and communication it needs.
Verify ECU power, grounds, and communication
Use the wiring diagram and specified test points to confirm the ECU’s power and ground under the conditions described by the manufacturer. Check battery voltage and relevant fuses as part of the broader diagnosis, but do not assume a good fuse proves the ECU supply is sound. If a scan tool cannot communicate, first check the tool, connector, network, and other modules as appropriate. A communication failure may have causes outside the ECU.
Look for multiple unrelated sensor codes
Several codes across different sensor circuits can suggest a shared electrical issue, such as a common supply or ground, rather than multiple simultaneous sensor failures. Review which circuits are involved and whether they share a connection on the wiring diagram. If only one circuit is affected, focus on that branch first. The pattern helps prioritize tests, but it does not by itself prove an ECU fault.
Check for water damage, corrosion, or heat damage
Look for signs of moisture, deposits, damaged seals, overheated wiring, or corrosion near the ECU and its connectors. Follow safe inspection procedures, since location and access vary by vehicle. Visible damage can justify further testing, but a clean exterior does not rule out an internal issue. Do not open or handle a module unless the service procedure and your equipment make that appropriate.
Confirm ECU faults with suitable diagnostic equipment
Before deciding that the ECU has failed, verify that the inputs, power, grounds, and communication paths meet the vehicle’s specifications. A qualified technician may use manufacturer-level diagnostics or other suitable equipment to confirm the fault and check whether a module issue is truly present. A video can help explain the diagnostic process, but it cannot substitute for measurements on your car.
Treat any test result as one piece of evidence. A reliable diagnosis connects the observed symptom to a repeatable fault and rules out likely causes outside the ECU.
Decide what to repair or test next
Choose the next step based on measured evidence, not on which part sounds most expensive or complicated. If a sensor signal is incorrect and its circuit checks out, replacing that sensor may be reasonable; if wiring or a connection is at fault, repair the circuit instead. When results are unclear, further testing can cost less than replacing an ECU unnecessarily. Safety matters too: some engine problems make driving unwise.
When to replace a sensor or repair its wiring
Replace a sensor when its test results fall outside the correct specification and its connector, supply, and wiring have been checked. Repair wiring or terminals when inspection or measurements identify a defect there. After the repair, clear codes only as appropriate, then confirm that the original symptom is gone and the relevant readings behave normally. If the same fault returns, continue diagnosis rather than repeating the same replacement.
When professional ECU testing is worthwhile
Professional testing makes sense when basic circuits check out but communication, control, or repeatable faults still point toward the module. It is also wise when access requires specialized tools, the problem is intermittent, or a mistake could damage a costly component. Bring the technician the codes, freeze-frame data, symptoms, and tests already performed. That record can keep the work focused.
Why ECU replacement may require programming
An ECU may need vehicle-specific setup or programming after replacement, depending on the vehicle. Compatibility, security systems, and required procedures vary, so a physically matching unit is not necessarily ready to install and operate. Confirm the correct part and programming requirements before buying or fitting one. A shop with suitable diagnostic equipment can verify what the particular vehicle needs.
When to stop driving and seek help
Stop driving and arrange help if the engine stalls unpredictably, loses power in a way that makes traffic unsafe, overheats, or develops another serious warning condition. A flashing warning light or severe misfire can also call for prompt attention; consult the owner’s manual for the vehicle’s instructions. If the car will not start or cannot be moved safely, avoid repeated attempts that may worsen the problem. When in doubt, get professional advice before continuing.
Conclusion
Telling whether an ECU or sensor is faulty takes more than matching a symptom to a list or replacing the part named by a code. Read the codes in context, inspect and test the sensor circuit, and verify the ECU’s power, grounds, and communication before deciding on a repair. If the evidence remains uncertain, vehicle-specific professional diagnosis is the sensible next step.
Frequently Asked Questions
Can a faulty sensor make it seem like the ECU has failed?
Yes. A bad sensor signal, damaged wire, poor connection, or failed power supply can produce symptoms or codes that appear to point toward the ECU. Testing the circuit helps distinguish them.
Will a diagnostic trouble code identify the failed part?
Not always. A code may identify a system or circuit where a fault was detected, while the underlying cause could be a sensor, wiring, connector, power supply, or ECU.
Can an ECU fault cause several warning lights?
It can, but multiple warning lights can also result from low voltage, shared wiring problems, or communication faults. Check the complete code pattern and test the supporting circuits.
Should I replace a sensor when its code appears?
Not without checking the sensor circuit and related data. Verify the connector, wiring, power or ground as applicable, and sensor readings against vehicle-specific specifications first.
How can I check whether a sensor reading is plausible?
Compare live data with expected values for the vehicle and observe how the reading changes as operating conditions change. A scan result that looks unusual should be confirmed with circuit tests.
Does ECU replacement always require programming?
No single rule applies to every vehicle. Some replacements require setup or programming, so confirm compatibility and the correct procedure for the specific make and model before installation.
Is it safe to drive with a suspected ECU or sensor fault?
It depends on the symptom. If the engine stalls, loses power, overheats, or behaves in a way that makes driving unsafe, stop and arrange professional help rather than continuing.