

Key Takeaways
A replacement ECU is only useful if the original module has been correctly identified as the fault and the replacement matches the vehicle. Before buying, confirm compatibility, security requirements, programming needs, and the seller’s return terms.
- Rule out battery, fuse, ground, and wiring faults before condemning the ECU.
- Match the replacement to the vehicle’s year, series, engine, transmission, and existing module details.
- Compare new, used, and remanufactured options by condition, warranty, programming, and return policy.
- Record codes and configuration details, and check security pairing requirements before installation.
- After fitting, complete the required setup and relearn steps, then rescan and verify normal operation.
Confirm the ECU is the source of the problem
A no-start, warning light, or unusual drivability issue can make an ECU seem like the obvious culprit. But similar symptoms can come from a weak battery, damaged wiring, or another module, so replacing the computer before testing can add cost without fixing the fault. A sound diagnosis begins with basic electrical checks and proceeds to scan data and model-specific testing.
Check battery voltage, fuses, grounds, and wiring first
Start with the vehicle’s power supply. A low or unstable battery voltage can interfere with starting and module communication, while a blown fuse, poor ground, or damaged connector can interrupt the ECU’s supply or signal path. Check the relevant circuits against service information for the exact Commodore rather than assuming every series uses the same layout.
Look for loose terminals, corrosion, moisture, chafed insulation, or signs of heat around the ECU connector and related wiring. Fixing a simple connection problem first may save the expense and programming work involved in an unnecessary replacement.
Scan for fault codes and communication issues
Use a scan tool that can access the vehicle’s relevant modules, not only generic engine codes. Record the codes and any available freeze-frame or live data before clearing anything. A communication fault can be useful evidence, but it does not by itself prove that the ECU has failed; the power, ground, network wiring, and scan-tool connection all need consideration.
A useful diagnosis separates what the scan tool reports from what has actually been tested. If the ECU is not communicating, check whether other modules respond and whether the ECU has the correct supply and ground. That distinction can keep a wiring fault from being mistaken for a failed computer.
Look for symptoms that can point to other components
A crank-no-start condition may involve fuel delivery, ignition, crank or cam sensors, or an immobilizer issue. Stalling and rough running can also come from air, fuel, or mechanical problems. Symptoms help narrow the checks, but they are not a substitute for confirming the fault electrically and with suitable scan data.
Compare what the driver noticed with what the vehicle is doing now. For example, whether the engine cranks, whether warning lights appear, and whether the scan tool communicates can guide the next test. Keep the symptom timeline, especially if the fault is intermittent.
Get a professional diagnosis when the cause is unclear
If the basic checks do not isolate the problem, have a technician test the circuit and module using procedures for the specific model. This is especially sensible when communication failures, security warnings, or intermittent faults are involved. The cost of diagnosis can be modest compared with buying the wrong ECU and then discovering the original fault is still present.
A repair or replacement decision should follow evidence, not a single code or symptom. If you’re considering a Holden Commodore ECU replacement, ask what tests support the diagnosis and whether the existing unit can be tested before ordering another one.
Identify the correct replacement ECU
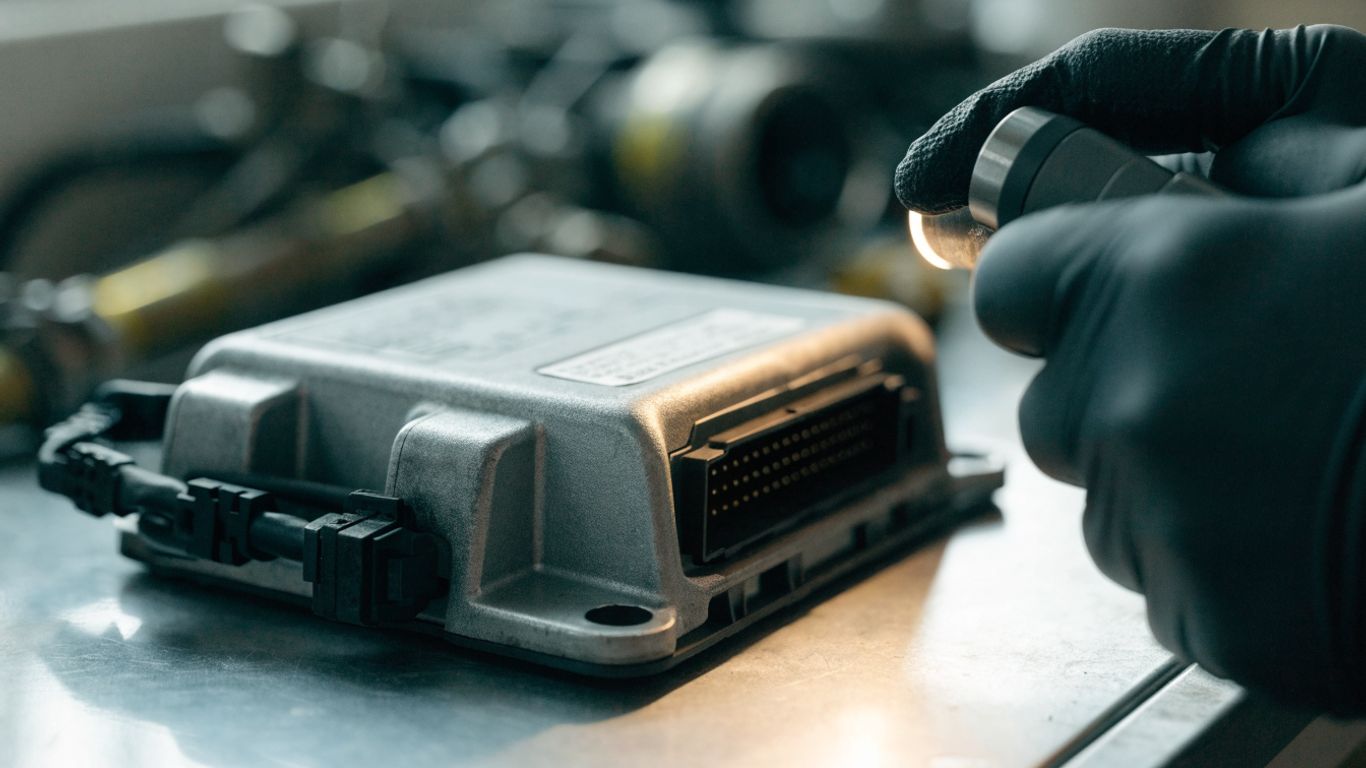
Commodore ECUs are not interchangeable simply because two modules look alike or came from vehicles with the same badge. The correct match can depend on the exact vehicle configuration and the module’s hardware and software details. Take clear photographs of the label and gather the vehicle identification details before you compare listings.
Match the Commodore’s model year, series, and engine
Write down the model year, series, engine, and any relevant vehicle identification information. Commodore variants can differ across years and configurations, so use those details when asking a supplier to confirm fitment. A broad description such as “Commodore ECU” is not enough to establish that a unit will work in your car.
When sourcing parts, Australia’s trusted car parts supplier describes its network as connecting customers with quality used, genuine, and aftermarket parts. Whichever source you use, provide the complete vehicle details and ask for an explicit compatibility check rather than relying on a visual match.
Compare part numbers and hardware revisions
Compare the part number on the existing ECU with the proposed replacement, including suffixes and revision markings. A close-looking number is not necessarily an exact match, and a superseded number should be confirmed against reliable fitment information. The seller should be able to explain any difference before you commit to the purchase.
A simple comparison makes it easier to spot gaps in the information supplied with a listing:
| Detail to compare | What to record | Why it matters |
|---|---|---|
| ECU label | Part number and suffix | Helps identify the module version |
| Vehicle | Year and series | Narrows down fitment differences |
| Engine | Engine code or configuration | Helps confirm the correct engine application |
| Replacement history | Donor details and condition | Adds context beyond appearance |
Use the table as a starting point, not a substitute for fitment confirmation. If the part number differs, ask the seller or a qualified technician to verify that the replacement is an approved match for the vehicle.
Check transmission and emissions-system compatibility
Confirm that the replacement corresponds to the vehicle’s transmission and emissions configuration. A unit from a different variant may have different calibration or module expectations even when it shares an engine family. Ask the supplier to verify those details using the vehicle information and ECU label.
Do not assume that programming can make every incompatible unit suitable. Compatibility should be established before purchase, with programming treated as a separate step that may still be required after the correct hardware is found.
Verify the replacement ECU’s condition and history
Ask whether the ECU is new, used, or remanufactured, and request details about how its condition was checked. For a used unit, find out what vehicle it came from and whether any security or programming reset has been completed. For a repaired or remanufactured module, ask what work was performed and what coverage applies.
Be cautious of listings that omit label photographs, vehicle details, or return conditions. A seller who can answer those questions gives you a clearer basis for deciding whether the part is suitable.
Choose between a new, used, or remanufactured ECU
The right purchase depends on more than the listed price. Warranty coverage, documented condition, availability, and the programming work still needed all affect the total cost and risk. Compare like with like, and ask what is included before deciding.
Weigh cost against warranty and reliability
A new module may offer a clear supply history, while a used unit can cost less but carry uncertainty about age and prior use. A remanufactured option may include repair or testing, but the meaning of those terms varies by seller. Compare the written warranty and installation requirements rather than judging by the category name alone.
A lower initial price may not be the lowest overall cost if the module needs additional programming, shipping, or a second replacement. Ask for the full expected cost and make sure the quoted warranty covers the part you are buying.
Ask whether a used ECU has been reset or programmed
A used ECU may retain security or vehicle-specific information from its donor car. Ask whether it has been reset, programmed, or otherwise prepared for the intended vehicle, and confirm what still needs to happen after installation. Requirements vary by model, so a general promise that a unit is “ready to fit” should be clarified.
The question is not only whether the ECU works on a bench; it is whether it can be properly matched to your vehicle. Get the answer in writing where possible, especially if the seller’s return policy depends on the unit being unmodified.
Check what is included with a remanufactured unit
Ask what testing or repair has been completed, whether the module is supplied with vehicle-specific programming, and whether any related modules or keys need attention. Clarify if the price includes only the ECU or also setup support. A Tech2 ECU linking guide describes security-code and module-linking steps for a Holden procedure, but always confirm the correct process for your exact model and circumstances.
The same principle of defining scope before work begins appears in guidance on MEP contracting services, though that subject is unrelated to automotive repair. For an ECU purchase, the practical equivalent is a written statement of what the unit includes and what remains your responsibility.
Confirm return terms before ordering
Check the return window, restocking charges, warranty exclusions, and whether a programmed unit can be returned. Also ask what evidence the seller needs if the ECU proves incompatible or faulty. These terms matter because installation and programming can affect the options available if something does not go as planned.
A clear return policy is part of the buying decision, not an afterthought. Keep the listing, correspondence, part label photographs, and invoice so you can refer to the agreed details later.
Prepare for the replacement
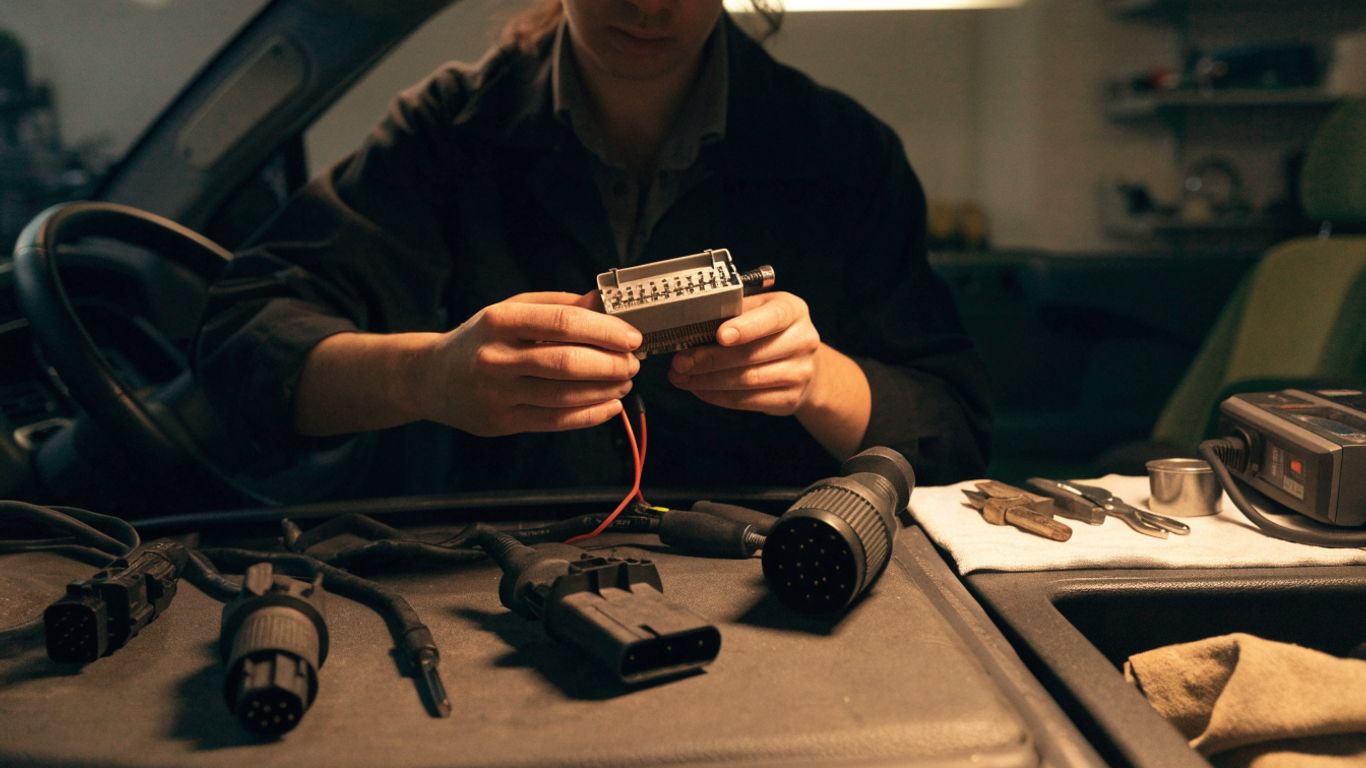
Good preparation helps protect the original information and makes the installation easier to troubleshoot. Before removing anything, document the vehicle’s current symptoms, diagnostic results, and module identifiers. Check the exact service procedure for the relevant Commodore rather than applying a generic set of steps.
Record diagnostic codes and existing configuration
Save all current fault codes before clearing them, including codes from related modules. Photograph the ECU label and note any vehicle-specific settings or configuration details that a technician may need to reproduce. If an intermittent problem is present, record when it occurs and what conditions seem to trigger it.
Keep those records with the replacement part details. They can help distinguish a new installation issue from a fault that was already present, and may make a later programming appointment more efficient.
Check whether the battery needs to be disconnected
Follow the model-specific service information for battery disconnection and reconnection. Some vehicles have procedures or precautions that should be observed before electrical work, and a battery disconnect may affect stored settings. Do not guess at the order of operations or rely on instructions intended for another model year.
If the procedure is unclear, have a technician confirm it before you begin. As with the separate setup guidance in defacto India Payroll, careful preparation means understanding the process and responsibilities first; that guide itself is not automotive advice.
Gather the correct tools and service information
Have the correct hand tools, scan equipment, and service instructions ready before opening the ECU area. Use tools that fit the fasteners and connectors without forcing them. Keep the replacement label and all packaging nearby so you can verify the part number during the job.
A short preparation list can prevent a rushed pause halfway through the work:
- Confirm the replacement part number against the vehicle and original label.
- Save diagnostic codes and take clear photographs of the connectors.
- Have the model-specific removal and installation instructions available.
- Confirm the programming or security equipment and support needed afterward.
Check each item before disconnecting the original unit. Planning the sequence is a general habit found in many fields, including Ultimify, which describes preparation for a trial workday; it does not provide ECU instructions.
Plan for immobilizer and key reprogramming
Ask in advance whether the replacement must be paired with the immobilizer, body modules, or keys. The exact requirements depend on the vehicle and ECU, and a replacement that is not correctly matched may not allow the car to start. Confirm who will perform the programming and whether the necessary vehicle information or security credentials are available.
Do not assume that a module can simply be plugged in and driven away. The general need to coordinate people and logistics also appears in information about team-building events, but the automotive procedure must come from vehicle-specific service guidance or a qualified specialist.
Install and configure the replacement ECU
Installation is both a physical and an electronic job. Correct fitment matters, but the vehicle may also require configuration, security pairing, or calibration after the module is connected. Follow instructions for the exact model and stop if the connector, mounting, or wiring does not match what the procedure describes.
Follow model-specific removal and installation steps
Use service information for the specific year, series, and engine. Identify the ECU location and the prescribed removal sequence before loosening fasteners or disconnecting plugs. If the original module is still accessible, compare its connectors and mounting points with the replacement before proceeding.
Avoid forcing a part into place or adapting a connector without a documented procedure. If something does not line up, verify the part number and fitment again rather than treating resistance as normal.
Protect connectors from damage, moisture, and static
Handle the ECU and its connectors carefully. Release connector locks as designed, keep dirt and moisture away from exposed terminals, and avoid pulling on wiring. Follow applicable service precautions for static and electrical handling, particularly when the module is outside its protective packaging.
Before reconnecting, inspect for bent or corroded pins and ensure the connector is seated and locked. A damaged terminal can create symptoms that resemble a defective module, so careful handling remains important even when the replacement itself is sound.
Program or pair the ECU with the vehicle
Programming and security pairing are not universal. The required process depends on the Commodore’s configuration and the replacement ECU’s state; it may involve the ECU and other vehicle modules. Confirm the correct method and security requirements before beginning, and use appropriate equipment or a qualified automotive specialist.
A general video can help explain the kind of work involved, but it cannot replace model-specific instructions or security procedures.
Confirm calibration and module compatibility
After programming, verify that the installed calibration and module configuration are appropriate for the vehicle. Confirm the ECU communicates with the other relevant modules and that any required configuration has been completed. If the programming tool reports a mismatch, do not keep repeating the process without understanding the cause.
A useful comparison is the way face recognition attendance is described as supporting review without changing an official attendance record; it is a separate subject, but it illustrates why software status and the underlying record should not be confused. For the vehicle, rely on the actual module data and service procedure.
Verify operation and address post-install issues
The job is not complete when the ECU is bolted in. Confirm that the vehicle starts, communicates, and behaves as expected, and check for new or returning faults. A short, careful verification can reveal a connector problem or incomplete setup before the car is returned to regular use.
Clear codes and run the required relearn procedures
After recording any new codes, clear faults as directed by the service procedure and perform any required relearn steps. Do not clear codes before saving them if a problem has appeared; that information can help identify what remains unresolved. Relearn requirements vary, so follow the instructions for the vehicle rather than assuming a generic reset is enough.
If a code returns, note when it reappears and which module reports it. That can help separate an installation or programming issue from an unrelated fault.
Check starting, idle, charging, and drivability
Confirm the vehicle starts normally and idles consistently. Check charging operation and look for warning lights, abnormal noises, or changes in drivability. If the vehicle is safe to test on the road, begin cautiously and follow any service guidance about post-repair checks.
Do not treat a successful start as proof that every system is correct. Verify the expected functions and keep an eye out for symptoms that were present before the replacement.
Rescan for faults and confirm communication
Rescan the ECU and relevant modules after the checks. Confirm that the diagnostic tool communicates and review any stored or pending codes. Compare the result with the codes recorded before work began so you can see whether the original issue has cleared or changed.
If the ECU still does not communicate, recheck power, grounds, connectors, network wiring, and programming status. The scan result is part of the evidence, not a complete diagnosis by itself.
Seek specialist help if security or programming faults remain
Persistent security, linking, or programming faults call for model-specific diagnostic equipment and experience. Avoid repeated attempts with guessed codes or procedures, as that can waste time and complicate troubleshooting. Give the specialist the vehicle details, ECU label photographs, codes, and a clear account of what has already been done.
A well-documented handoff makes it easier to identify the remaining issue. It also helps the technician establish whether the difficulty is with the replacement part, vehicle compatibility, or the setup process.
Conclusion
A successful Holden Commodore ECU replacement starts with confirming the diagnosis and choosing a verified match for the vehicle, then continues through careful installation, programming, and post-fit checks. Take time to confirm the part details and return terms before buying, and get qualified help when security or compatibility is uncertain.
Frequently Asked Questions
How do I know if my Commodore ECU has failed?
A no-start, warning message, or communication fault can point toward an ECU issue, but none proves it by itself. Check power, grounds, fuses, wiring, and related components, and use a suitable scan tool or professional diagnosis to confirm the cause.
Can I install a used ECU from another Commodore?
Possibly, but the replacement must match the vehicle configuration and may need resetting, programming, or security pairing. Confirm fitment and setup requirements before buying.
Does a replacement ECU need programming?
Many replacements require configuration or pairing, but the exact requirements depend on the model and module. Check the service procedure and the condition of the replacement unit before installation.
Should I disconnect the battery before replacing the ECU?
Follow the service instructions for the specific vehicle. Battery disconnection procedures and precautions can vary, so do not rely on instructions for a different model year.
What information should I give a parts supplier?
Provide the model year, series, engine, transmission details, vehicle identification information when requested, and clear photographs of the original ECU label. Ask the supplier to confirm compatibility explicitly.
What if the car will not start after the ECU is replaced?
Check the installation, connectors, power and grounds, and whether the required security pairing or programming was completed. If the cause is not clear, avoid repeated attempts and arrange a model-specific diagnosis.
Can a faulty ECU be repaired instead of replaced?
Sometimes, depending on the ECU fault, module type, and availability of repair options. Testing the original unit can help determine whether repair is practical or replacement is the better route.